Bash Script to Install a mariadb-galera-server Cluster on Multiple Servers

Bash Script to Install a mariadb-galera-server Cluster on Multiple Servers

Get Social!

The following script will install the MariaDB Galera Server binaries on multiple servers with a basic cluster configuration.

Let me start by saying it’s a quick and dirty script – it may not work in all scenarios and was written on a set of Debian servers. Use it at your own risk! It may work on a MySQL Server cluster but you’ll have to remove or change the repository locations to the MySQL Server ones.

Before running the script you’ll need to have SSH key Authentication set up and working between all the nodes. See my post on Create ssh key authentication between nodes for setting up server key authentication.

You’ll also need to change a few variables in the script to match your environment.

The first variable IP is an array of all the IP addresses you’d like to use to install Maria DB Server. Currently there are 3 IPs specified – replace them with your own IP addresses and add any more if you have more than 3 servers.

The other two variables CLUSTER_NAME which is the name MariaDB will use for your cluster; and MAINT_USER_PASSWORD which is the password that will be set for the maintenance user.

#!/bin/bash

IP[0]=10.27.3.51
IP[1]=10.27.3.52
IP[2]=10.27.3.53
## IP[99]=10.10.10.10

CLUSTER_NAME=cluster_test
MAINT_USER_PASSWORD=OkVLGvp5qhM0eCNk

## DO NOT EDIT ##

CLUSTER_STRING="gcomm://"$(IFS=, ; echo "${IP[*]}")

for I in "${IP[@]}"
do :
	echo "Setting up repo for $I"
	ssh root@$I "apt-get update"
	ssh root@$I "apt-get upgrade -y"
	ssh root@$I "apt-get install -y software-properties-common"
	ssh root@$I "apt-key adv --recv-keys --keyserver hkp://keyserver.ubuntu.com:80 0xcbcb082a1bb943db"
	ssh root@$I "add-apt-repository 'deb http://lon1.mirrors.digitalocean.com/mariadb/repo/10.0/ubuntu trusty main'"
	
	echo "Installing DB for $I"
	ssh root@$I "apt-get update"
	ssh root@$I "apt-get install -y mariadb-galera-server rsync"
	
	ssh root@$I "echo '
[client]
host     = localhost
user     = debian-sys-maint
password = '$MAINT_USER_PASSWORD'
socket   = /var/run/mysqld/mysqld.sock
[mysql_upgrade]
host     = localhost
user     = debian-sys-maint
password = '$MAINT_USER_PASSWORD'
socket   = /var/run/mysqld/mysqld.sock
basedir  = /usr
' > /etc/mysql/debian.cnf"
	ssh root@$I "echo '
[mysqld]
query_cache_size=0
binlog_format=ROW
default-storage-engine=innodb
innodb_autoinc_lock_mode=2
query_cache_type=0
bind-address=0.0.0.0

# Galera Provider Configuration
wsrep_provider=/usr/lib/galera/libgalera_smm.so
#wsrep_provider_options="gcache.size=32G"

# Galera Cluster Configuration
wsrep_cluster_name=\"'$CLUSTER_NAME'\"
wsrep_cluster_address=\"'$CLUSTER_STRING'\"

# Galera Synchronization Congifuration
wsrep_sst_method=rsync
#wsrep_sst_auth=user:pass

# Galera Node Configuration
wsrep_node_address=\"'$IP'\"
wsrep_node_name=\"'$IP'\"' > /etc/mysql/conf.d/cluster.cnf"

done

ssh root@$IP "service mysql stop"
ssh root@$IP "service mysql start --wsrep-new-cluster"


Install the Splunk Forwarder on Ubuntu

Get Social!

splunkThe Splunk Universal Forwarder is a small, light weight daemon which forwards data to your main Splunk server from a variety of sources.

This guide assumes that you have already installed the Splunk server to receive the data.

Download the Splunk Universal Forwarder .deb file from the Splunk website:

Upload the file to your Ubuntu server and place it a temporary directory.

Run the dpkg command to install the Splunk server.  The file name of the .deb file may change as new versions are made available so make sure that you have downloaded.

dpkg -i splunkforwarder-6.0.3-204106-linux-2.6-amd64.deb

The output will look like the below. Once you see complete, the Splunk Forwarder installation will be complete.

Selecting previously unselected package splunkforwarder.
(Reading database ... 28352 files and directories currently installed.)
Unpacking splunkforwarder (from splunkforwarder-6.0.3-204106-linux-2.6-amd64.deb) ...
Setting up splunkforwarder (6.0.3-204106) ...
complete

Next we need to create the init.d script so that we can easily start and stop Splunk. Change the the Splunk directory and run the splunk executable with the below arguments.

cd /opt/splunkforwarder/bin/
./splunk enable boot-start

Press SPACE to view all of the license agreement and then Y to accept it.

You can now start the forwarder daemon using the init.d script.

service splunk start

See reading log files with the Splunk Forwarder to read your first log file and send the data to the Splunk server.


Install Splunk on Ubuntu

Category : How-to

Get Social!

splunkSplunk is the heavyweight open source software which enables you to index, visualise and explore virtually any machine generated data. Splunk is often used to consume Apache and Nginx web server logs as well as website clicks and any other data which maintains a constant format.

Installing Splunk on any Debian based Linux distribution, such as Ubuntu, couldn’t be easier with the .deb package that available for download.

Visit the Splunk download page to download the Splunk .deb package:

Upload the file to your Ubuntu server and place it a temporary directory.

Run the dpkg command to install the Splunk server.  The file name of the .deb file may change as new versions are made available so make sure that you have downloaded.

dpkg -i splunk-6.0.3-204106-linux-2.6-amd64.deb

The output of the command will look like the below example.

Selecting previously unselected package splunk.
(Reading database ... 20803 files and directories currently installed.)
Unpacking splunk (from splunk-6.0.3-204106-linux-2.6-amd64.deb) ...
Setting up splunk (6.0.3-204106) ...
complete

Next we need to create the init.d script so that we can easily start and stop Splunk. Change the the Splunk directory and run the splunk executable with the below arguments.

cd /opt/splunk/bin/
./splunk enable boot-start

Press SPACE to view all of the license agreement and then Y to accept it.

Start Splunk with the service command.

service splunk start

You will now be able to access Splunk’s web GUI which is running on port 8000.

http://10.10.10.10:8000/

Open the URL in the browser and login with the below details:

  • User Name: admin
  • Password: changeme

splunk-dashboard-new


Installing the OpenVZ Web Panel

Get Social!

There are many web front ends to the OpenVZ virtualisation server which offer varying functionality and are at different stages of development.

Take a look at the OpenVZ Control Panels wiki page for a list and a brief description of what each one does.

One that I have found to be very stable, easy to use and the most feature rich is the OpenVZ Web Panel (OWP). It allows you to create and destroy new OpenVZ containers, manage networking, download new OS templates and a few other things all from a clean web based front end.

Installing the OpenVZ Web Panel

Installing the OpenVZ Web Portal couldn’t be easier – simply run a one-line command on the terminal and let the script do the rest. The script will download all the required dependencies, such as Ruby, and set everything up so that you have a working web address which you can use to administer your OpenVZ server.

Run the below command on your OpenVZ server.

wget -O - http://ovz-web-panel.googlecode.com/svn/installer/ai.sh | sh

Once the script completes, the web server will be available on your servers IP or hostname and port 3000. The default username and password, which are required for login are:

  • Username: admin
  • Password: admin

openvz-web-panel-login

If you have iptables installed you will need to add a new rule for the default port 3000.

iptables -A INPUT -i eth0 -p tcp --dport 3000 -m state --state NEW,ESTABLISHED -j ACCEPT
iptables-save

You can also change the port number by editing the config file of OWP.

vi /etc/owp.conf

And change the PORT attribute to the new port number. Remember to update your iptables configuration to the new port number. See my iptables cheat sheet for more information.

Once you have logged in you will need to change the default admin password. Click on My Profile on the left hand side and fill in the information as requested.

openvz-web-panel-change-password

The next time you log in you will be able to log in with your new password.


Install an OpenVZ Server on CentOS

Category : How-to

Get Social!

openvz-logo-150px_new_3OpenVZ servers are hypervisors which allow you to create numerous guest instances within a single hardware node. Unlike other products which offer full hardware virtualisation, OpenVZ creates containers – isolated program execution environments – that share the hardware nodes kernel.

OpenVZ works very differently to the more mainstream hypervisors like VMWare’s ESXI, KVM or Xen and therefore comes with some benefits as well as a few problems. In the benefit category, the big one is performance.  OpenVZ containers loose very little power from what is available on a bare metal machine. The big drawback is that an OpenVZ container can only run Linux guests because each guest is actually using the hardware nodes kernel.

OpenVZ recommends running an OpenVZ server on Red Hat Linux, or one of it’s derivitives such as CentOS. Before starting this tutorial, make sure that you have a freshly installed CentOS server with terminal access. For this example, I’m going to use a fresh install of CentOS 6.5.

There are three stages to the installation of the OpenVZ software; install the OpenVZ kernel, configure system parameters and install the OpenVZ tools.

Install the OpenVZ kernel

All of the packages required to install an OpenVZ server are available in a repository which needs to be added to yum. Once this is complete, you can use yum to install all of the OpenVZ packages, including the kernel. Using this method, we can also keep our packages up to date as future releases are made available by the OpenVZ team.

Download the OpenVZ repository details and add the GPG key which is used to sign each package.

wget -P /etc/yum.repos.d/ http://ftp.openvz.org/openvz.repo
rpm --import http://ftp.openvz.org/RPM-GPG-Key-OpenVZ

We can now install the OpenVZ kernel by running the below command. Type y when prompted to begin the download and installation.

yum install vzkernel

Configure system parameters

We need to configure various system parameters for OpenVZ to work, especially on the networking side.

Open up the sysctl.conf file.

vi /etc/sysctl.conf

Either add or amend the following settings.

# packet forwarding enabled and proxy arp disabled
net.ipv4.ip_forward = 1
net.ipv6.conf.default.forwarding = 1
net.ipv6.conf.all.forwarding = 1
net.ipv4.conf.default.proxy_arp = 0

# Enables source route verification
net.ipv4.conf.all.rp_filter = 1

# Enables the magic-sysrq key
kernel.sysrq = 1

# We do not want all our interfaces to send redirects
net.ipv4.conf.default.send_redirects = 1
net.ipv4.conf.all.send_redirects = 0

OpenVZ needs SELinux to be disabled. Open up the selinux config file and make the SELINUX attribute disabled.

vi /etc/sysconfig/selinux

For example:

 This file controls the state of SELinux on the system.
# SELINUX= can take one of these three values:
#     enforcing - SELinux security policy is enforced.
#     permissive - SELinux prints warnings instead of enforcing.
#     disabled - No SELinux policy is loaded.
SELINUX=disabled
# SELINUXTYPE= can take one of these two values:
#     targeted - Targeted processes are protected,
#     mls - Multi Level Security protection.
SELINUXTYPE=targeted

Install OpenVZ tools

Once the kernel is set up we need to install the OpenVZ tools for creating and managing an OpenVZ server.

yum install vzctl vzquota

You can now reboot your machine. When your machine starts up, make sure that the OpenVZ kernel is loaded with the uname -r command. The result should be similar to below, although the version numbers will change with time.

# uname -r
2.6.32-042stab084.26

And that’s it! You now have an OpenVZ server up and running.


See Basic container management for details on creating your first CT.


Installing OpenNode 6

Category : How-to

Get Social!

open-node
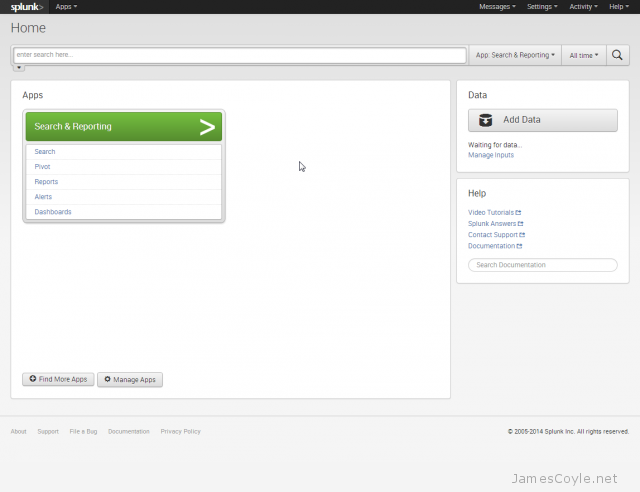
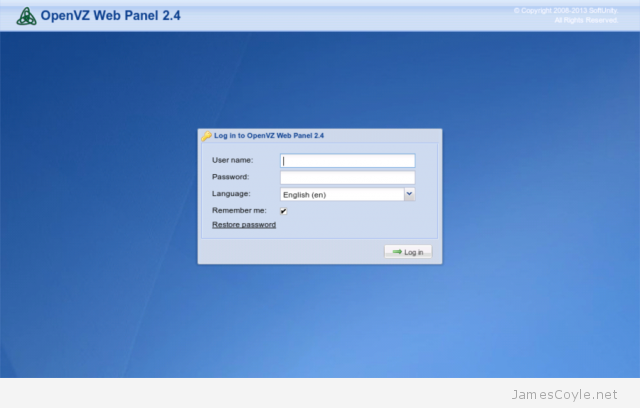
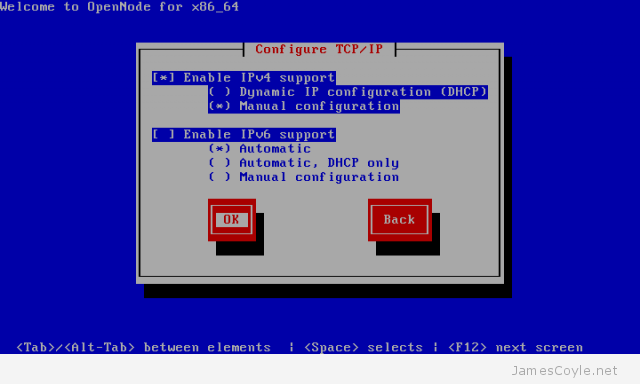
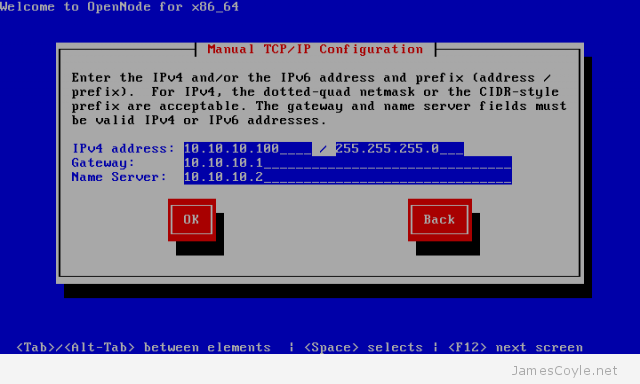
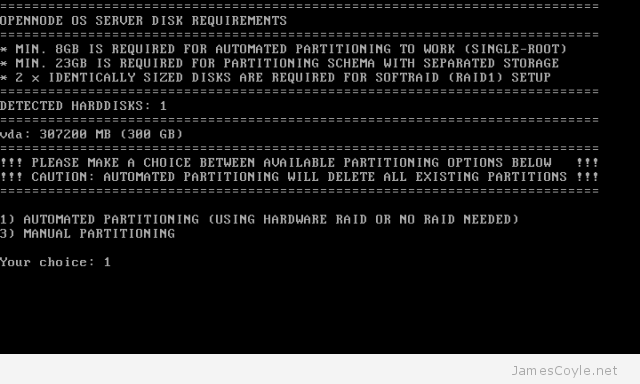
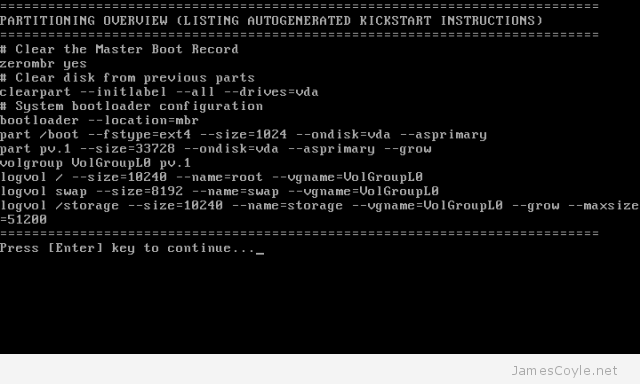
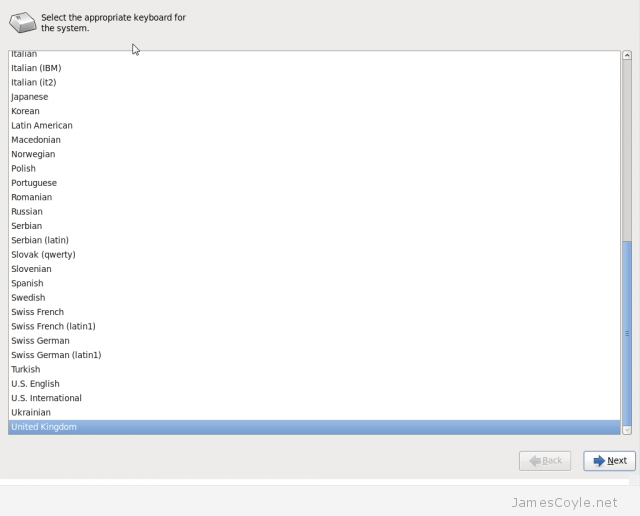
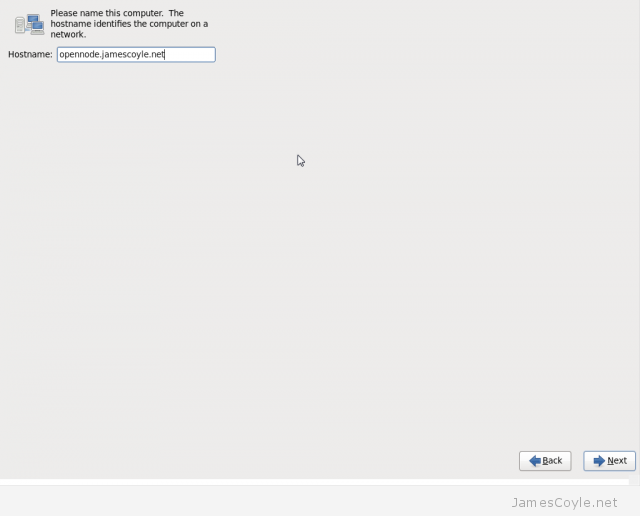
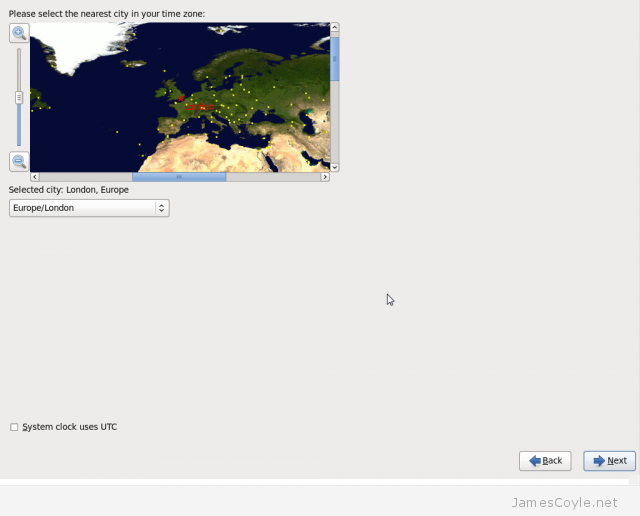
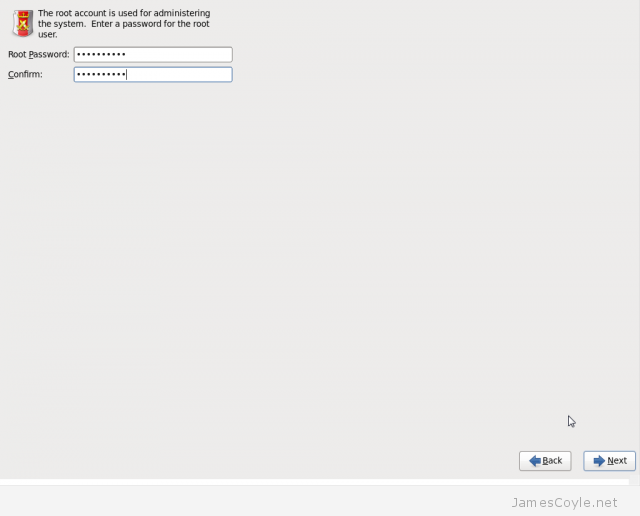
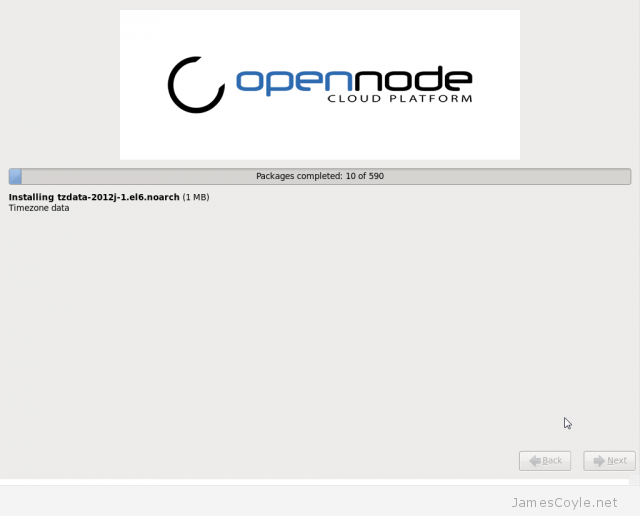
Installing OpenNode is much like installing any other modern Linux distribution. You start with a text based installer to configure some of the basic options, such as netwokring, then you are presented with a GUI to complete the install.

Download the ISO from the OpenNode website and burn it to a CD, or mount the ISO on your virtual machine.

ISO: http://opennodecloud.com/downloads/

OpenNode system requirements

Recommended

  • Dual or Quad Socket Server (Quad/Six/Hexa Core CPUs)
  • CPU: 64bit (Intel EMT64 or AMD64)
  • Intel VT/AMD-V capable CPU/Mainboard (for KVM Full Virtualization support)
  • 8 GB RAM is good, more is better (grab as much as possible)
  • Hardware RAID with batteries protected write cache (BBU) or flash protection
  • Fast hard drives, best results with 15k rpm SAS, Raid10
  • Two Gbit NIC (for bonding), additional NIC´s depending on the preferred storage technology and cluster setup

Minimum (for testing)

  • CPU: 64bit (Intel EMT64 or AMD64)
  • Intel VT/AMD-V capable CPU/Mainboard (for KVM Full Virtualization support)
  • Minimum 4 GB RAM
  • Hard drive 25 GB
  • One NIC

The first screen you wil see when you boot the install CD is the boot menu. Press ENTER to start the install with default settings. You can use advanced boot options which are coved on my other blog post.

OpenNode Install Screen 1

You will now need to specify your network settings. Move around this screen using the arrow keys and pressing SPACE on the item to enable. You will notice an asterix (*) next to each item which is enabled. Select Manual Configuration for IPv4 and disable Enable IPv6 supportOpenNode Install Screen 2

Now enter your IPv4 address, submask, Gateway and Name Server (DNS server) for your network and press TAB to select OK.OpenNode Install Screen 3

Press 1 and ENTER to use the default file system layout. OpenNode Install Screen 4

Press ENTER to confirm the changes and commit them to disk. OpenNode Install Screen 5

The GUI will now load and you can use either your mouse or keyboard to navigate the screen. Select your language and press Next.OpenNode Install Screen 6

Type in the Hostname for your machine to use and press Next.OpenNode Install Screen 7

Choose your timezone by clicking areas on the map and press Next.OpenNode Install Screen 8

Enter the Root Password for your installation to use. This is the password you will use later to log into the system.OpenNode Install Screen 9

Press Next and the install will start. OpenNode Install Screen 10

Once the installation completes, click Reboot to reboot your machine and boot from your new installation. OpenNode Install Screen 11

You will be presented with the login screen when your machine restarts. Log in with root as the username and the password you set in the earlier install step. OpenNode Login Screen

Now your install is complete and your OpenNode system is ready to be used. Before creating any VMs, it’s best to update your system using yum to make sure you have the latest bug fixes and security patches installed. Run the yum command to download and install the latest updates of all your installed packages. 

yum update

OpenNode Loged in Screen

The yum application is downloading the latest list of available software and will update them once you have confirmed that you would like to proceed. OpenNode yum update

Press y and ENTER to download and install the latest version and their dependencies of your installed packages. OpenNode yum update2

The first time you run yum update you will get warning about importing the GBG key. Press y and ENTER to accept.OpenNode yum update2 gpg key

Finally, you need to reboot to make sure all the new packages are used. Issue the command reboot at the prompt.

reboot

OpenNode Booting Screen

Wait for the operating system to load and you can start to use your new OpenNode installation. To get started, log back in and issue the command opennode to get started.

OpenNode does does not have a web based GUI installed by default. See my other blog post on setting up the web based GUI.


Visit our advertisers

Quick Poll

How often do you change the password for the computer(s) you use?

Visit our advertisers