Upload OVA to Proxmox/ KVM
Category : How-to
Proxmox does not have native support for an OVA template which is surprising considering it’s the open format for creating packaged virtual machines, or virtual appliances as they are often referred.
We can still get an OVA template running in Proxmox but it will take a little bit of work to transform it into a functional VM.

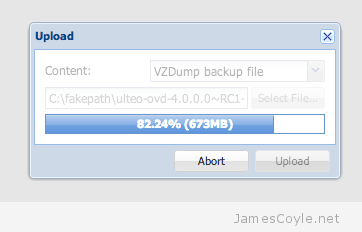
First off, lets get the OVA file uploaded to the Proxmox server; you can do this using SCP or the Proxmox web GUI. If you use the Proxmox web GUI you will need to rename the OVA to end in a iso extension and upload it as a ISO image content. Depending on the size of the OVA file and the bandwidth you have available, it may take a while to upload the file. The file will then be available in the dump folder in the selected storage.
SSH onto your Proxmox server and locate the OVA file. An OVA file is simply a tar file containing an image file and some configuration for things like CPU, RAM, etc. Run the tar command to extract the components of the OVA file onto your file system.
tar - my.ovf
The output will be two or more files – one will be an OVF file which contains the settings and configuration of the virtual machine and one or more files will be VMDKs which are the disk images of the virtual machine.
Although you can run a VMDK file in Proxmox, it’s recommended to use qcow2 which is the default file format for Proxmox virtual machines. Run the VMDK file through the converter – note this can take a while with large files.
qemu-img convert -f vmdk myvm-disk1.vmdk -O qcow2 myvm-disk1.qcow2
We now need to get the image into a VM with some hardware so that we can begin to use it. This is where things get tricky – the OVF file is not compatible with Proxmox and needs to be manually understood. The principle here is we are going to use the Proxmox web GUI to create a VM and replace the empty disk image which is created with our recently converted qcow2 image.
You can use vi to open the OVF file and understand some of the basic settings which are required for the VM. Open the OVF file and look for the following XML tags:
- OperatingSystemSection
- VirtualHardwareSection
- Network
- StorageControllers
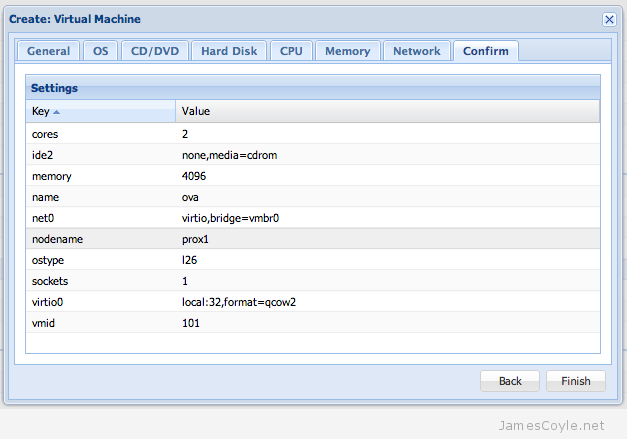
You should be able to get a rough idea of the requirements for the KVM. In the Proxmox web GUI, click on Create VM and create a VM which meets the requirements of the image you converted. Make sure that you select qcow2 for the disk format. After clicking Finish an empty VM will be created – in this example I used local storage and VMID 101 so the disk images are stored in /var/lib/vz/images/101.

Copy the previously converted qcow2 image over the existing image – be sure to overwrite the existing image otherwise your image will not be used and KVM will try to start with a blank, empty image.
mv /tmp/myvm-disk1.qcow2 /var/lib/vz/image/101/vm-101-disk-1.qcow2
Thats it – you can now start up the image from the Proxmox web GUI.