Installing OpenNode 6
Category : How-to
 Installing OpenNode is much like installing any other modern Linux distribution. You start with a text based installer to configure some of the basic options, such as netwokring, then you are presented with a GUI to complete the install.
Download the ISO from the OpenNode website and burn it to a CD, or mount the ISO on your virtual machine.
ISO: http://opennodecloud.com/downloads/
OpenNode system requirements
Recommended
- Dual or Quad Socket Server (Quad/Six/Hexa Core CPUs)
- CPU: 64bit (Intel EMT64 or AMD64)
- Intel VT/AMD-V capable CPU/Mainboard (for KVM Full Virtualization support)
- 8 GB RAM is good, more is better (grab as much as possible)
- Hardware RAID with batteries protected write cache (BBU) or flash protection
- Fast hard drives, best results with 15k rpm SAS, Raid10
- Two Gbit NIC (for bonding), additional NIC´s depending on the preferred storage technology and cluster setup
Minimum (for testing)
- CPU: 64bit (Intel EMT64 or AMD64)
- Intel VT/AMD-V capable CPU/Mainboard (for KVM Full Virtualization support)
- Minimum 4 GB RAM
- Hard drive 25 GB
- One NIC
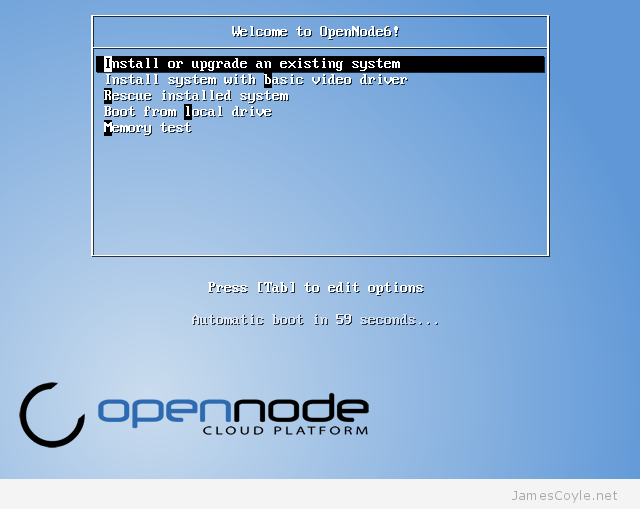
The first screen you wil see when you boot the install CD is the boot menu. Press ENTER to start the install with default settings. You can use advanced boot options which are coved on my other blog post.
You will now need to specify your network settings. Move around this screen using the arrow keys and pressing SPACE on the item to enable. You will notice an asterix (*) next to each item which is enabled. Select Manual Configuration for IPv4 and disable Enable IPv6 support. 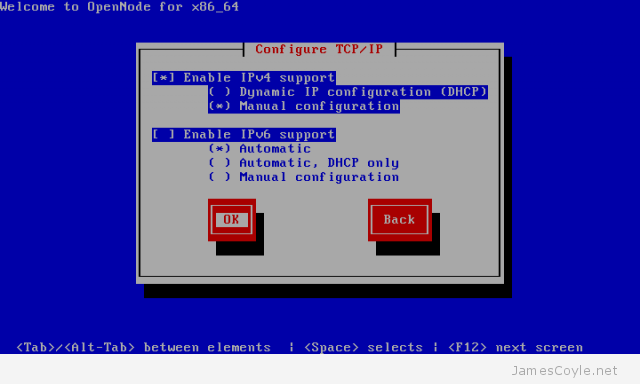
Now enter your IPv4 address, submask, Gateway and Name Server (DNS server) for your network and press TAB to select OK.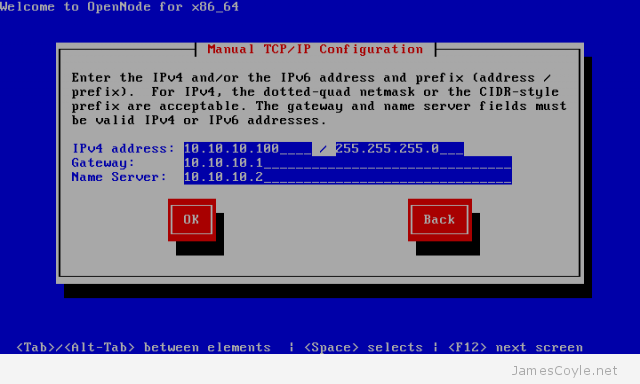
Press 1 and ENTER to use the default file system layout. 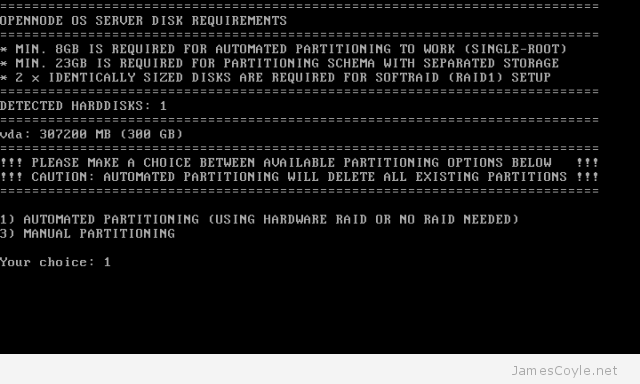
Press ENTER to confirm the changes and commit them to disk. 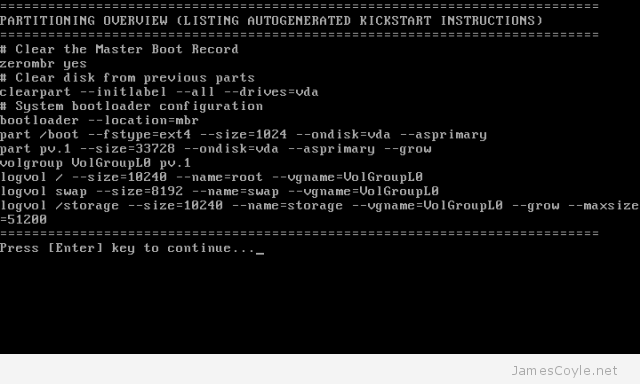
The GUI will now load and you can use either your mouse or keyboard to navigate the screen. Select your language and press Next.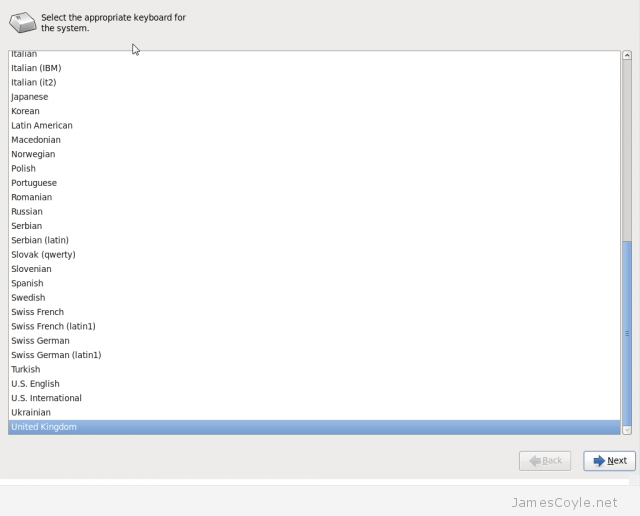
Type in the Hostname for your machine to use and press Next.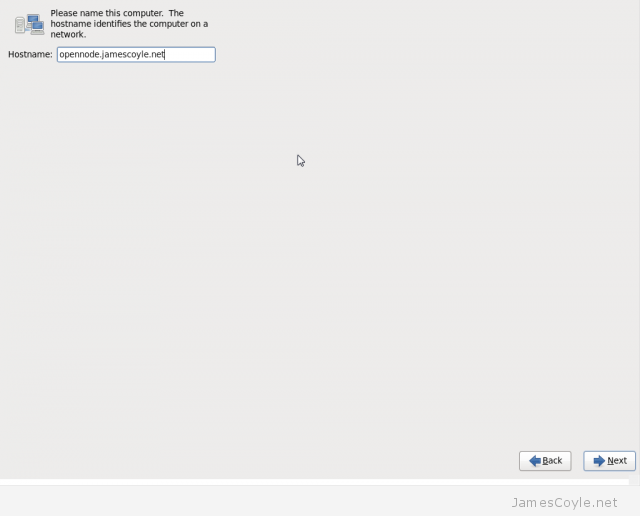
Choose your timezone by clicking areas on the map and press Next.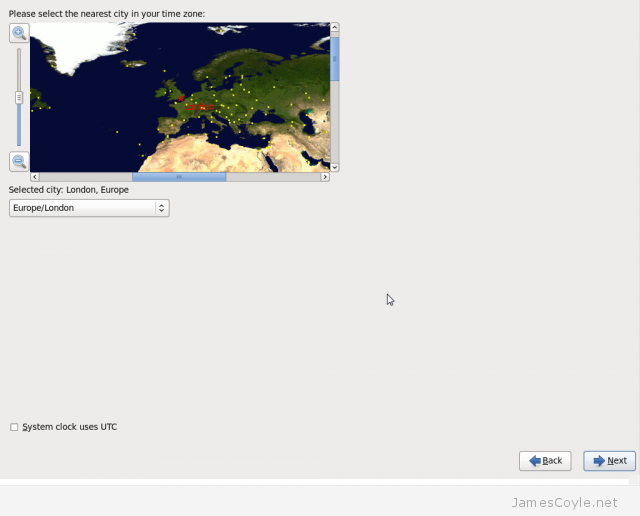
Enter the Root Password for your installation to use. This is the password you will use later to log into the system.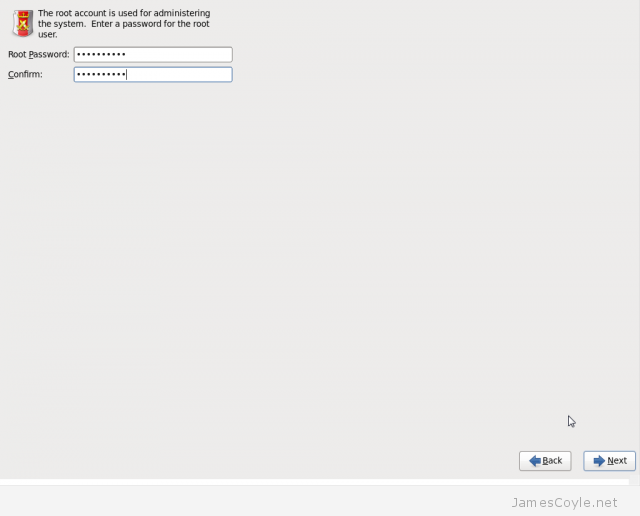
Press Next and the install will start. 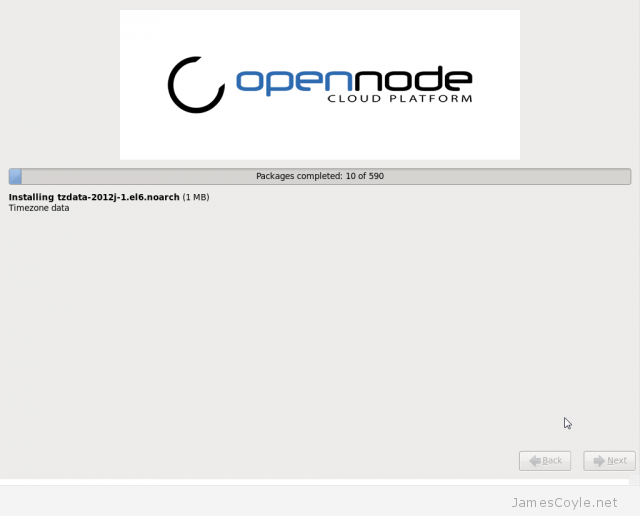
Once the installation completes, click Reboot to reboot your machine and boot from your new installation. 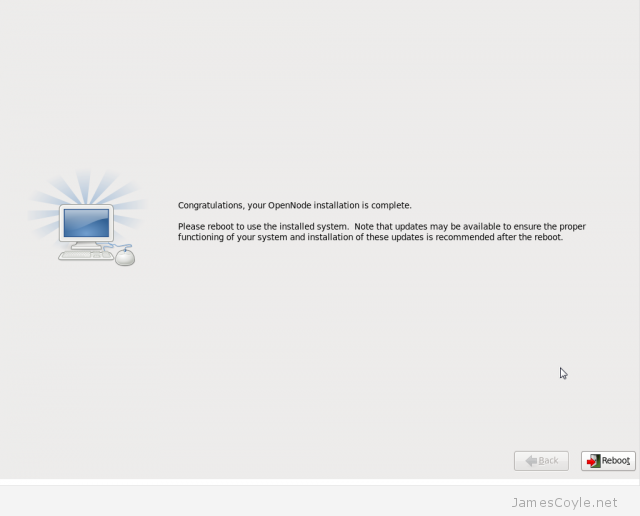
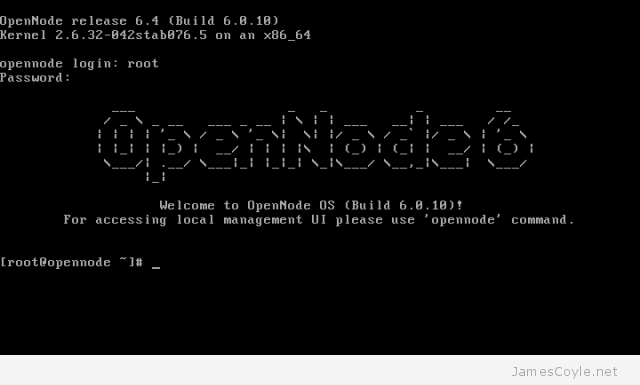
You will be presented with the login screen when your machine restarts. Log in with root as the username and the password you set in the earlier install step. 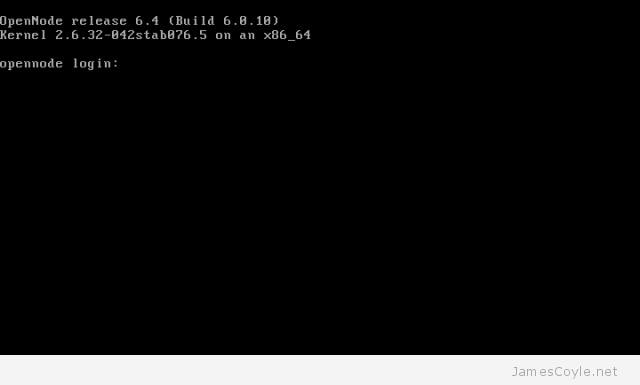
Now your install is complete and your OpenNode system is ready to be used. Before creating any VMs, it’s best to update your system using yum to make sure you have the latest bug fixes and security patches installed. Run the yum command to download and install the latest updates of all your installed packages.
yum update
The yum application is downloading the latest list of available software and will update them once you have confirmed that you would like to proceed. 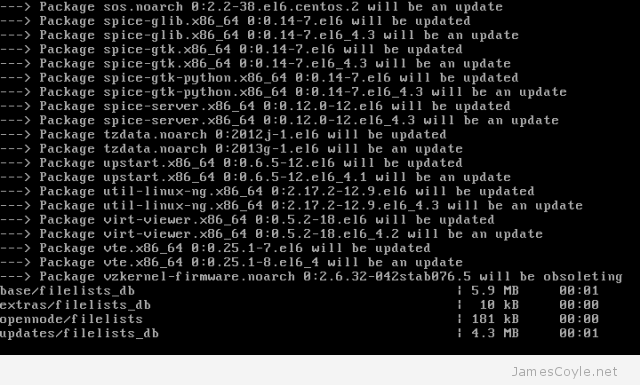
Press y and ENTER to download and install the latest version and their dependencies of your installed packages. 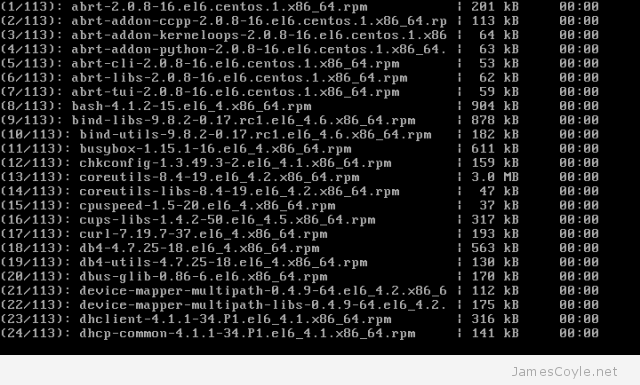
The first time you run yum update you will get warning about importing the GBG key. Press y and ENTER to accept.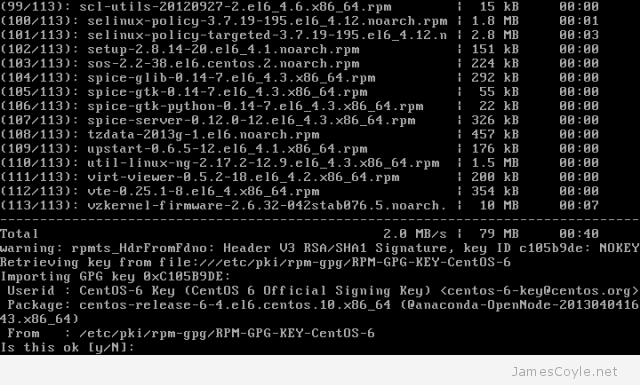
Finally, you need to reboot to make sure all the new packages are used. Issue the command reboot at the prompt.
reboot

Wait for the operating system to load and you can start to use your new OpenNode installation. To get started, log back in and issue the command opennode to get started.
OpenNode does does not have a web based GUI installed by default. See my other blog post on setting up the web based GUI.
4 Comments
D1
29-Jan-2015 at 6:16 amHey James,
Nice tutorials that you have here. Great work!
Correct me if I’m wrong, I believe you made a small mistake after the first login. Shouldn’t it be yum update instead of yum install?
Regards,
D1.
james.coyle
29-Jan-2015 at 8:58 amHi D1,
You’re correct – thank you for pointing it out! I’ve updated the post.
Rob Kiggen
22-Mar-2015 at 6:11 pmHi James,
are you still running opennode or did you revert back to Proxmox? Can you tell a little bit more about your experience with OpenNode up until now?
Kind regards,
Rob
Rob Kiggen
23-Mar-2015 at 7:52 amHi James,
what are your experiences with OpenNode up until now, have you replaced Proxmox entirely in favor of OpenNode or did you switch back to Proxmox? What are the strengths/weaknesses of OpenNode compared with Proxmox ? I was thinking of installing OpenNode OS and using Archipel (http://archipelproject.org/) instead of OMS for administration.
Kind regards,
Rob