Skip Certificate Checks with Wget

Skip Certificate Checks with Wget

Category : How-to

Get Social!

This is a reminder for myself more than anything else, on how to get wget to download SSL internet content when it’s encrypted by a self-signed or otherwise unknown certificate.

If you haven’t installed or updated your certificate Authority certificates on your computer and try and download something from an SSL URL with wget you’re going to run into trouble because your computer doesn’t know what a valid SSL certificate looks like. You’ll also get a similar problem if the site you’re accessing is encrypted by a self-signed certificate. This example shows a problem downloading from a HTTPS Github URL. Of course, there is no problem with the SSL certificate on Github.com, it’s the local machine that doesn’t have the internets Certificate Authority certificates installed.

Resolving github.com (github.com)... 192.30.253.113
Connecting to github.com (github.com)|192.30.253.113|:443... connected.
ERROR: The certificate of 'github.com' is not trusted.
ERROR: The certificate of 'github.com' hasn't got a known issuer.

The quickest way round this, albeit not the safest, is to tell wget to ignore any certificate checks and download the file. To do this, add the –no-check-certificate to your wget command. I don’t know why the wget developers couldn’t have chosen a switch that’s easier to remember!

wget https://github.com --no-check-certificate


Download Oracle Java From The Terminal With wget

Get Social!

java-logoOracle have a very restrictive license that applies to most of their software downloads which prohibits you from distributing the binaries yourself. What this means, for example, is that you could not download the Java binaries and upload them to your own APT repository for others to use.
There are a few workarounds that exist to help making this install easier, but here we’re going to look at downloading the Java runtime environment (JRE) binaries and installing them all from a command line.

Use wget to download the binaries, so make sure that’s available on your system. If it isn’t, simply apt-get install wget.

One of the important things to note is that the Java version changes over time and therefore the links and commands below may need to be changed to ensure you’re always getting the latest version. Check out the Java Download Page to make sure you have the latest.

wget --header "Cookie: oraclelicense=accept-securebackup-cookie" http://download.oracle.com/otn-pub/java/jdk/8u51-b16/server-jre-8u51-linux-x64.tar.gz

I’m using an minimal version of Debian that doesn’t have the worlds Certificate Authorities installed and therefore wget gives me an error:

ERROR: cannot verify edelivery.oracle.com's certificate, issued by '/C=US/O=GeoTrust, Inc./CN=GeoTrust SSL CA':
  Unable to locally verify the issuer's authority.
To connect to edelivery.oracle.com insecurely, use `--no-check-certificate'.

The fix is to either install the correct CA certificate on the machine or add the no-check-certificate switch to wget to avoid checking the certificate:

wget --no-check-certificate --header "Cookie: oraclelicense=accept-securebackup-cookie" http://download.oracle.com/otn-pub/java/jdk/8u51-b16/server-jre-8u51-linux-x64.tar.gz

Once you have the Java archive downloaded you’ll need to create a target folder and extract the downloaded archive with tar:

mkdir /opt/jre
tar -zxf server-jre-8u51-linux-x64.tar.gz -C /opt/jre

The last couple of steps are to tell your OS to use the Java binaries you’ve just moved into place.

update-alternatives --install /usr/bin/java java /opt/jre/jdk1.8.0_51/bin/java 1000
update-alternatives --install /usr/bin/javac javac /opt/jre/jdk1.8.0_51/bin/javac 1000

Running anything in Java, or using the -version switch should now use your newly installed binaries.

java -version
java version "1.8.0_51"
Java(TM) SE Runtime Environment (build 1.8.0_51-b16)
Java HotSpot(TM) 64-Bit Server VM (build 25.51-b03, mixed mode)


Installing the OpenVZ Web Panel

Get Social!

There are many web front ends to the OpenVZ virtualisation server which offer varying functionality and are at different stages of development.

Take a look at the OpenVZ Control Panels wiki page for a list and a brief description of what each one does.

One that I have found to be very stable, easy to use and the most feature rich is the OpenVZ Web Panel (OWP). It allows you to create and destroy new OpenVZ containers, manage networking, download new OS templates and a few other things all from a clean web based front end.

Installing the OpenVZ Web Panel

Installing the OpenVZ Web Portal couldn’t be easier – simply run a one-line command on the terminal and let the script do the rest. The script will download all the required dependencies, such as Ruby, and set everything up so that you have a working web address which you can use to administer your OpenVZ server.

Run the below command on your OpenVZ server.

wget -O - http://ovz-web-panel.googlecode.com/svn/installer/ai.sh | sh

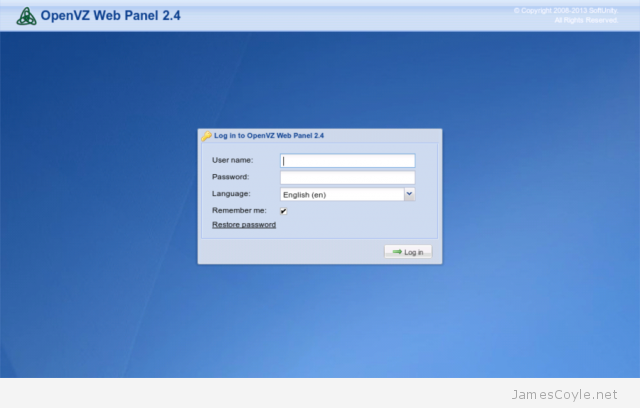
Once the script completes, the web server will be available on your servers IP or hostname and port 3000. The default username and password, which are required for login are:

  • Username: admin
  • Password: admin

openvz-web-panel-login

If you have iptables installed you will need to add a new rule for the default port 3000.

iptables -A INPUT -i eth0 -p tcp --dport 3000 -m state --state NEW,ESTABLISHED -j ACCEPT
iptables-save

You can also change the port number by editing the config file of OWP.

vi /etc/owp.conf

And change the PORT attribute to the new port number. Remember to update your iptables configuration to the new port number. See my iptables cheat sheet for more information.

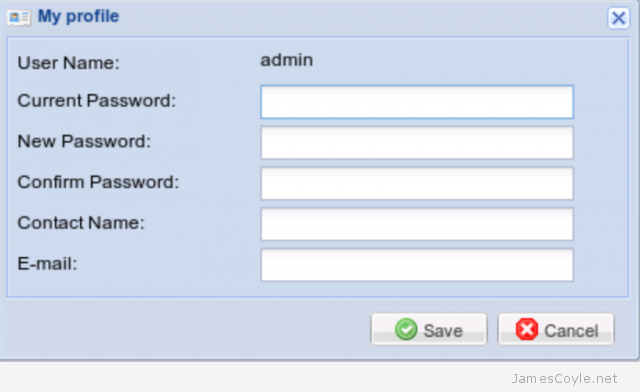
Once you have logged in you will need to change the default admin password. Click on My Profile on the left hand side and fill in the information as requested.

openvz-web-panel-change-password

The next time you log in you will be able to log in with your new password.


Visit our advertisers

Quick Poll

How many Proxmox servers do you work with?

Visit our advertisers