Download Oracle Java From The Terminal With wget

Download Oracle Java From The Terminal With wget

Get Social!

java-logoOracle have a very restrictive license that applies to most of their software downloads which prohibits you from distributing the binaries yourself. What this means, for example, is that you could not download the Java binaries and upload them to your own APT repository for others to use.

There are a few workarounds that exist to help making this install easier, but here we’re going to look at downloading the Java runtime environment (JRE) binaries and installing them all from a command line.

Use wget to download the binaries, so make sure that’s available on your system. If it isn’t, simply apt-get install wget.

One of the important things to note is that the Java version changes over time and therefore the links and commands below may need to be changed to ensure you’re always getting the latest version. Check out the Java Download Page to make sure you have the latest.

wget --header "Cookie: oraclelicense=accept-securebackup-cookie" http://download.oracle.com/otn-pub/java/jdk/8u51-b16/server-jre-8u51-linux-x64.tar.gz

I’m using an minimal version of Debian that doesn’t have the worlds Certificate Authorities installed and therefore wget gives me an error:

ERROR: cannot verify edelivery.oracle.com's certificate, issued by '/C=US/O=GeoTrust, Inc./CN=GeoTrust SSL CA':
  Unable to locally verify the issuer's authority.
To connect to edelivery.oracle.com insecurely, use `--no-check-certificate'.

The fix is to either install the correct CA certificate on the machine or add the no-check-certificate switch to wget to avoid checking the certificate:

wget --no-check-certificate --header "Cookie: oraclelicense=accept-securebackup-cookie" http://download.oracle.com/otn-pub/java/jdk/8u51-b16/server-jre-8u51-linux-x64.tar.gz

Once you have the Java archive downloaded you’ll need to create a target folder and extract the downloaded archive with tar:

mkdir /opt/jre
tar -zxf server-jre-8u51-linux-x64.tar.gz -C /opt/jre

The last couple of steps are to tell your OS to use the Java binaries you’ve just moved into place.

update-alternatives --install /usr/bin/java java /opt/jre/jdk1.8.0_51/bin/java 1000
update-alternatives --install /usr/bin/javac javac /opt/jre/jdk1.8.0_51/bin/javac 1000

Running anything in Java, or using the -version switch should now use your newly installed binaries.

java -version
java version "1.8.0_51"
Java(TM) SE Runtime Environment (build 1.8.0_51-b16)
Java HotSpot(TM) 64-Bit Server VM (build 25.51-b03, mixed mode)


Install Nginx on Debian/ Ubuntu

Category : How-to

Get Social!

nginx-logoInstalling Nginx on Debian or Ubuntu is as easy as a single apt-get command, however it does not install the latest version of Nginx. In fact, the latest stable Nginx version is 1.8 and the latest package in Debian’s standard repository is 1.2

To get the latest stable version we need to add a new source to our package manager. Before doing so, add the Nginx PGP key which is used to sign all packages. Run the below commands to download the key from Nginx.com, add it to our package manager and clean up the local downloaded file.

wget http://nginx.org/keys/nginx_signing.key
apt-key add nginx_signing.key
rm nginx_signing.key

We can now create the new source file with the Nginx repository location.

vi /etc/apt/sources.list.d/nginx.list

Add one of the following depending on your Linux distribution. You will need to change wheezy or trusty to the codename of your distribution version.

Debian

deb http://nginx.org/packages/debian/ wheezy nginx
deb-src http://nginx.org/packages/debian/ wheezy nginx

Ubuntu

deb http://nginx.org/packages/ubuntu/ trusty nginx
deb-src http://nginx.org/packages/ubuntu/ trusty nginx


Finally, update your local repository cache and install Nginx.

apt-get update
apt-get install nginx

Run -v on nginx and you should see something like version 1.8.0.

nginx -v
nginx version: nginx/1.8.0


Install Splunk on Ubuntu

Category : How-to

Get Social!

splunkSplunk is the heavyweight open source software which enables you to index, visualise and explore virtually any machine generated data. Splunk is often used to consume Apache and Nginx web server logs as well as website clicks and any other data which maintains a constant format.

Installing Splunk on any Debian based Linux distribution, such as Ubuntu, couldn’t be easier with the .deb package that available for download.

Visit the Splunk download page to download the Splunk .deb package:

Upload the file to your Ubuntu server and place it a temporary directory.

Run the dpkg command to install the Splunk server.  The file name of the .deb file may change as new versions are made available so make sure that you have downloaded.

dpkg -i splunk-6.0.3-204106-linux-2.6-amd64.deb

The output of the command will look like the below example.

Selecting previously unselected package splunk.
(Reading database ... 20803 files and directories currently installed.)
Unpacking splunk (from splunk-6.0.3-204106-linux-2.6-amd64.deb) ...
Setting up splunk (6.0.3-204106) ...
complete

Next we need to create the init.d script so that we can easily start and stop Splunk. Change the the Splunk directory and run the splunk executable with the below arguments.

cd /opt/splunk/bin/
./splunk enable boot-start

Press SPACE to view all of the license agreement and then Y to accept it.

Start Splunk with the service command.

service splunk start

You will now be able to access Splunk’s web GUI which is running on port 8000.

http://10.10.10.10:8000/

Open the URL in the browser and login with the below details:

  • User Name: admin
  • Password: changeme

splunk-dashboard-new


Set up Fail2ban for Proxmox Web GUI

Get Social!

fail2ban_logoFail2ban is an application that scans log files in real time and bans malicious IP addresses based on a set of rules and filters you can set.

For this blog post, we’re going to look at capturing invalid login attempts to the Proxmox Web GUI and ban any IP addresses from accessing the Web GUI if they fail to authenticate 3 times from the same IP address.

Fail2ban is made up of three main component parts:

  • Filter – a Filter is a pattern or regular expression that we wish to search for in the log files. In our case, we want to search for the words ‘authentication failure’ in the log because that’s what the pvedaemon writes when a failed login attempt occurs.
  • Action – an Action is what we’ll do if the filter is found. What we need to do is ban any IP address where the filter is triggered 3 times.
  • Jail – a Jail in Fail2ban is the glue that holds it all together – this ties a Filter, together with an Action and the relevant log file.

Install Fail2ban

Installing Fail2ban on Debian/ Proxmox is as easy as it gets – just use the apt package manager.

apt-get install fail2ban

Fail2ban is mostly Python, so it’ll need to be installed on the system or apt-get  will install it as a dependency.

Note: by default Fail2ban will enable itself on SSH connections, blocking invalid IPs after 6 invalid attempts. 

Configure Fail2ban for the Proxmox Web GUI

There are several steps to setting up Fail2ban. As mentioned earlier in the post, we want to ban any users IP address from accessing the Proxmox Web GUI if they have failed to authenticate 3 times. We shouldn’t block them indefinitely because it may be a simple password issue that they can resolve with the account administrator. We’ll configure Fail2ban to ban failed attempts for an hour.

Because banning a user after 3 invalid attempts is a fairly basic thing in the world of Fail2ban, we won’t need to create an Action as listed above. We’ll need to create a Jail and a Filter.

The Jail

A Jail in Fail2ban is the core configuration that  combines a Filter, an Action (although this may be default Fail2ban behaviour) and a log file.

The default configuration for Fail2ban is found in /etc/fail2ban/jail.conf and contains many predefined entries for common processes such as FTP and Apache. We shouldn’t edit this file directly when adding new entries, instead, we should create the below file which will be used to override the default jail.conf.

vi /etc/fail2ban/jail.local

Add the following (this file may not already exist):

[proxmox-web-gui]
enabled  = true
port     = http,https,8006
filter   = proxmox-web-gui
logpath  = /var/log/daemon.log
maxretry = 3
bantime = 3600

The above entry has set a ruleset name of proxmox-web-gui, and the following:

  • enabled – this simply states that this ruleset is active.
  • port – set sthe port that any bans should act on
  • filter – this sets the file name of the filter that we’ll use to detect any login failures. More about this in the next section.
  • logpath – the name or pattern (for example /var/log/apache/*.log) of the log to monitor for the failed logins. This is the file that the above filter will work on.
  • maxretry – this is how many times should the filter detect a problem before starting the ban.
  • bantime – this is how long, in minutes, that the ban be in effect for.

The Filter

Now that we have specified the log file to look in we need to specify how to find the event we need to look for. For our example, Proxmox writes a specific string each time a failed login occurs which looks like the belew:

authentication failure; rhost=10.10.10.10 [email protected] msg=no such user ('[email protected]')

Our Filter, therefore, needs to look for this text and pull out the IP address.

Create a Filter file called proxmox-web-gui.conf in /etc/fail2ban/filter.d/.

vi /etc/fail2ban/filter.d/proxmox-web-gui.conf

Add the following:

[Definition]
failregex = pvedaemon\[[0-9]+\]: authentication failure; rhost=<HOST> user=.* msg=.*

This will match the text that Proxmox writes to the daemon.log file when a failed login is detected. It’s got a Fail2ban specific keyword <HOST> which is what’s used to indicate to Fail2ban where the offending IP address is in the log entry. Fail2ban can then block this IP address as indicated in our Jail file.

Testing Fail2ban Filters

Fail2ban provides a nice little utility to test your Filter definitions to make sure they are working as you intend. First things first – we need an entry in our log file for an invalid login attempt. Go to your Proxmox Web GUI and enter some invalid login credentials.

The command to use is fail2ban-regex which has two parameters; the log file location and the Filter location.

fail2ban-regex /var/log/daemon.log /etc/fail2ban/filter.d/proxmox-web-gui.conf

An example of the output is below. The text Success, the total number of match is 1 states that there is one match in the log for our pattern in the proxmox-web-gui.conf file.

fail2ban-regex /var/log/daemon.log /etc/fail2ban/filter.d/proxmox-web-gui.conf

Running tests
=============

Use regex file : /etc/fail2ban/filter.d/proxmox-web-gui.conf
Use log file   : /var/log/daemon.log


Results
=======

Failregex
|- Regular expressions:
|  [1] pvedaemon\[[0-9]+\]: authentication failure; rhost=<HOST> user=.* msg=.*
|
`- Number of matches:
   [1] 1 match(es)

Ignoreregex
|- Regular expressions:
|
`- Number of matches:

Summary
=======

Addresses found:
[1]
    10.27.4.98 (Fri May 29 12:31:14 2015)

Date template hits:
770 hit(s): MONTH Day Hour:Minute:Second
0 hit(s): WEEKDAY MONTH Day Hour:Minute:Second Year
0 hit(s): WEEKDAY MONTH Day Hour:Minute:Second
0 hit(s): Year/Month/Day Hour:Minute:Second
0 hit(s): Day/Month/Year Hour:Minute:Second
0 hit(s): Day/MONTH/Year:Hour:Minute:Second
0 hit(s): Month/Day/Year:Hour:Minute:Second
0 hit(s): Year-Month-Day Hour:Minute:Second
0 hit(s): Year.Month.Day Hour:Minute:Second
0 hit(s): Day-MONTH-Year Hour:Minute:Second[.Millisecond]
0 hit(s): Day-Month-Year Hour:Minute:Second
0 hit(s): TAI64N
0 hit(s): Epoch
0 hit(s): ISO 8601
0 hit(s): Hour:Minute:Second
0 hit(s): <Month/Day/Year@Hour:Minute:Second>

Success, the total number of match is 1

However, look at the above section 'Running tests' which could contain important
information.

Restart fail2ban for the new Jail to be loaded.

service fail2ban restart

To check your new Jail has been loaded, run the following command and look for the proxmox-web-gui Jail name next to Jail List.

fail2ban-client -v status
INFO   Using socket file /var/run/fail2ban/fail2ban.sock
Status
|- Number of jail:      2
`- Jail list:           ssh, proxmox-web-gui

Try to log into the Proxmox Web GUI with an incorrect user 3 and see your IP address appear in the Currently banned section.

fail2ban-client -v status proxmox-web-gui
INFO   Using socket file /var/run/fail2ban/fail2ban.sock
Status for the jail: proxmox-web-gui
|- filter
|  |- File list:        /var/log/daemon.log
|  |- Currently failed: 0
|  `- Total failed:     3
`- action
   |- Currently banned: 1
   |  `- IP list:       10.10.10.10
   `- Total banned:     1


Create SSH Key Authentication Between Nodes

Category : How-to

Get Social!

Secure key authentication is one of the more secure ways to grant users access to a Linux server. The standard password authentication which is usually used to login to a server is replaced with an SSH key which is presented when authenticating. This increases security as passwords can eventually be cracked using brute force or even guessed in some circumstances. SSH keys are impossible to guess and almost impossible to to hack using brute force due to their length and complexity.

A SSH key is actually two strings of characters – one which is private and is used to connect to the server and another which is public which sits on the server itself.

Run the below command to create the key pair on the client machine.

ssh-keygen -t rsa

Accept the default location to save the key which will be inside the current users home directory:

Enter file in which to save the key (/home/james/.ssh/id_rsa):

For additional security, you can add a passhrase to the private key. This means the key cannot be used without the passphrase which increases the security of the key itself. Simply press return if you do not wish to use a passphrase.

Note: if you are using the key for applications to gain access to other servers, it’s unlikely that a passphrase will be supported.  

Enter passphrase (empty for no passphrase):
Your identification has been saved in /home/james/.ssh/id_rsa
Your public key has been saved in /home/james/.ssh/id_rsa.pub. 
The key fingerprint is:
46:ba:02:fd:2f:9c:b9:39:ec:6c:90:50:d8:ec:7b:00 james@testpc
The key's randomart image is:
+--[ RSA 2048]----+
|   +             |
|  E +            |
|   +    .        |
|  ..o  o         |
|  ...+. S        |
|   .+..o         |
|    .=oo         |
|     oOo         |
|     o=+.        |
+-----------------+

The two keys have been created;

  • Private: /home/james/.ssh/id_rsa
  • Public: /home/james/.ssh/id_rsa.pub

The final step is to copy the public key to the machine which you are going to connect to. In Debian or Ubuntu you can use the ssh-copy-id – you will need to change [USER] for the user who you will connect to the remote machine as and [SERVER] to the hostname or IP address of the remote server you will connect to.

ssh-copy-id [USER]@[SERVER]

Not all Linux distributions will contain the required ssh-copy-id utility, many CentOS/ Red Hat distributions do not for example, so you will need to use the manual method. Again, you will need to substitute the [USER] and [SERVER] attributes to the details of your remote machine.

cat /home/james/.ssh/id_rsa.pub | ssh [USER]@[SERVER] "cat >> ~/.ssh/authorized_keys"

It is not always recommended for security reasons but you can copy this public key to multiple machines so that you can use the same private key to connect to multiple remote machines.


Speed up Multiple apt-get install Requests by Caching the Repository

Get Social!

Linux penguin
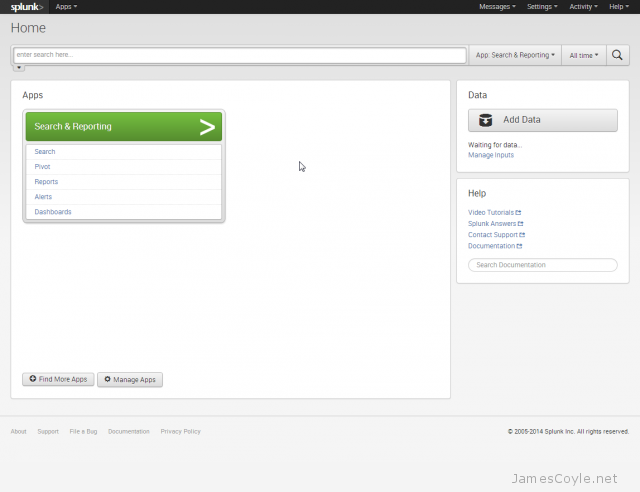
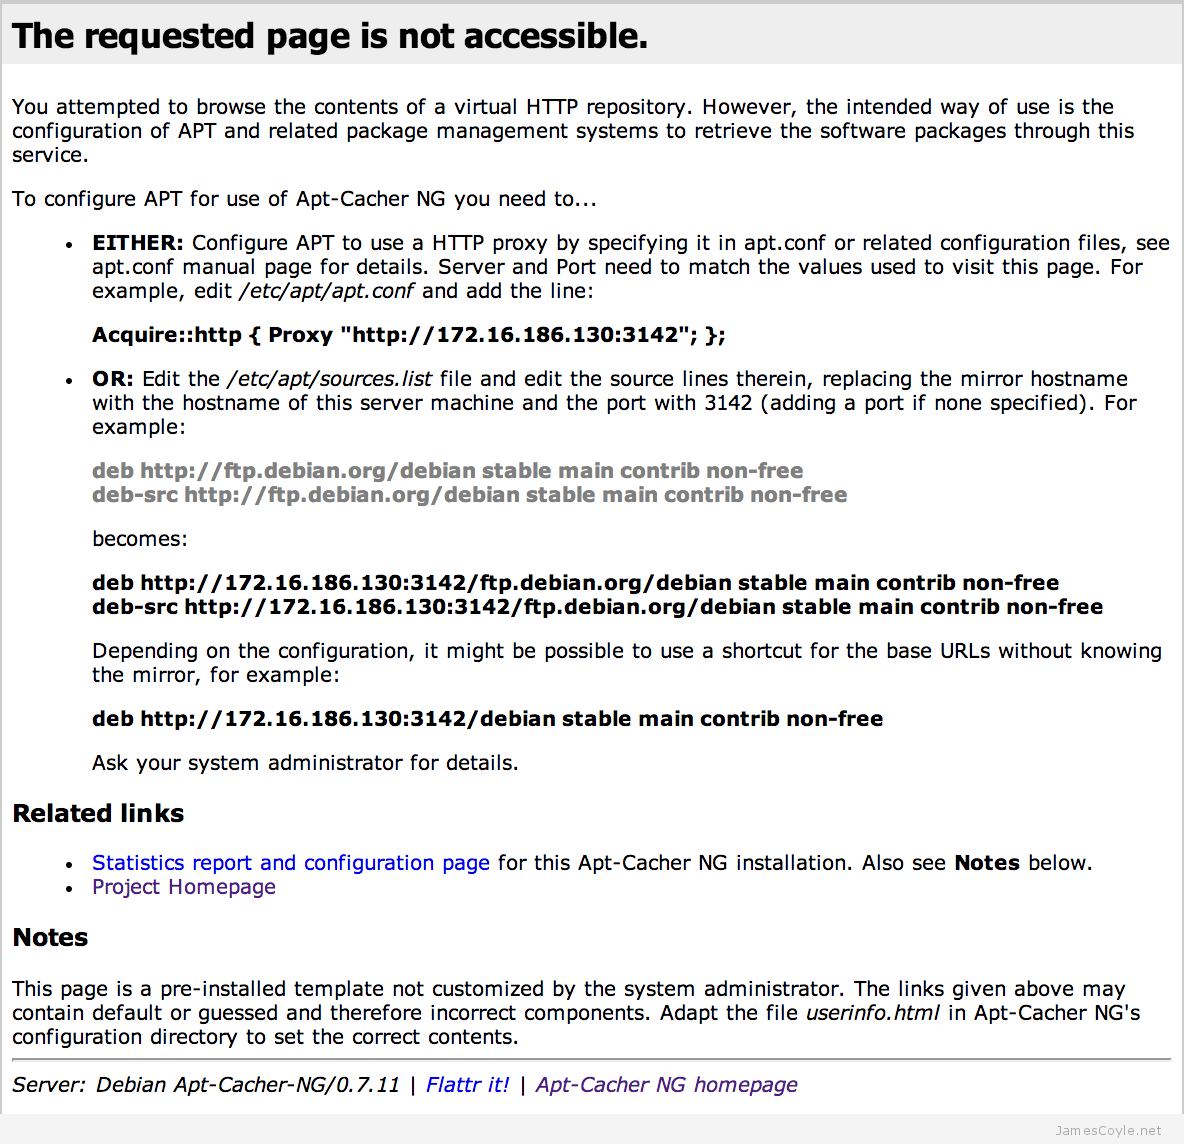
apt-get is the tool used in Debian and Ubuntu to manage packages installed on the system. Each time an update is available, or you install a new package the files will be downloaded from one of the central repository servers out on the internet and installed on your system.

There are two main problems with this:

  • Your servers may not be on able to access the internet directly for security reasons
  • Installing the same package on multiple servers will result in downloading the package the same amount of times. This could be slow or expensive in terms of bandwidth.

To solve the problem you can mirror the source repository on your own local server and add that as a source for your servers to update from. The main issue with this is that each distribution has a huge catalog of package which would take up vast amounts of space. Multiply this by the different releases of operating system in your environment and you could be talking terabytes of space.

Various utilities have been created to work round this problem such as apt-proxy, apt-cacher and debproxy. These utilities work by only caching some of the most used packages and fetching the rest from the source.

The below example will use apt-cacher-ng which is a middle man who sits in between the server being updated and the source repository out on the internet. It chooses to cache some regularly or recently used files locally and will recall them when they are requested which greatly speeds up the process for the requesting machine. The cache is frequently cleared to make sure that disk space is only being used for the most necessary packages. This drastically reduces resource required to run the service, whilst speeding up package downloading and guaranteeing that all packages are available.

Setting up apt-cacher-ng server

The apt-cacher-ng utility sits on a server which must be able to access both the public network and any internal network which your other servers may sit on.

Run apt-get install to install the proxy utility.

apt-get install apt-cacher-ng

The default installation of apt-cacher-ng holds details of both Ubuntu and Debian source repositories and is ready to use.

If you need to change the settings of the application such as the port it listens on, edit the below file:

vi /etc/apt-cacher-ng/acng.conf

You can now access the web interface using using the local machine’s IP or host name and the port. The default port is 3142.

apt-cache-nr-homescreen

This page shows that apt-cacher-ng is working correctly and is ready to cache the first source requests.

The next step is to add the server location to your clients. Create the below file and add details of your caching server.

/etc/apt/apt.conf.d/02proxy

Add the below line and edit [SERVER_IP] and [SERVER_PORT] to match your apt-cacher-ng configuration.

Acquire::http { proxy "http://[SERVER_IP]:[SERVER_PORT]"; };

Eg.

Acquire::http { proxy "http://10.10.10.1:3142"; };

Finally, run the update command on your clients to cause the proxy to cache the package lists. Packages will also be cached soon as you start to install or updates packages on your client.

To make sure that apt-cacher-ng is doing it’s job, tail the log to make sure entries are appearing.

tail -f /var/log/apt-cacher-ng/apt-cacher.log

In addition, you can also view the webpage for statistics on cache hits and misses:

http://[SERVER_IP]:[SERVER_PORT]/acng-report.html?doCount=Count+Data#top


Visit our advertisers

Quick Poll

Which type of virtualisation do you use?
  • Add your answer

Visit our advertisers